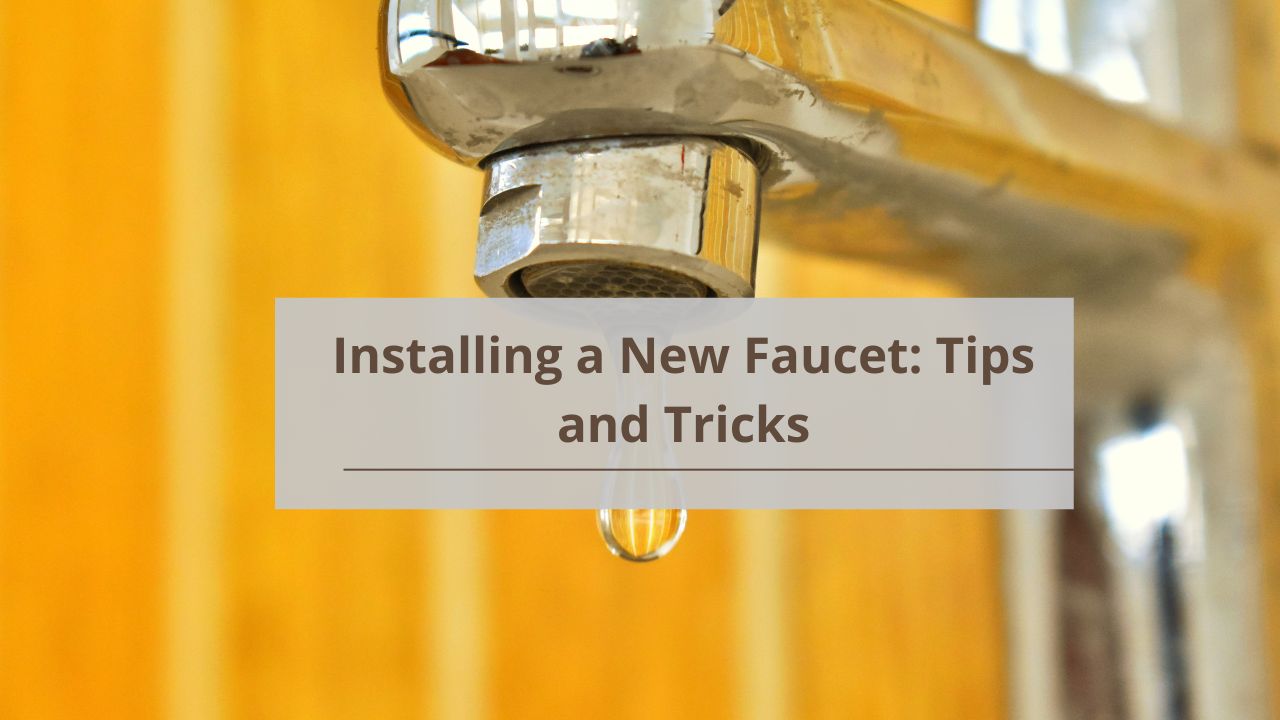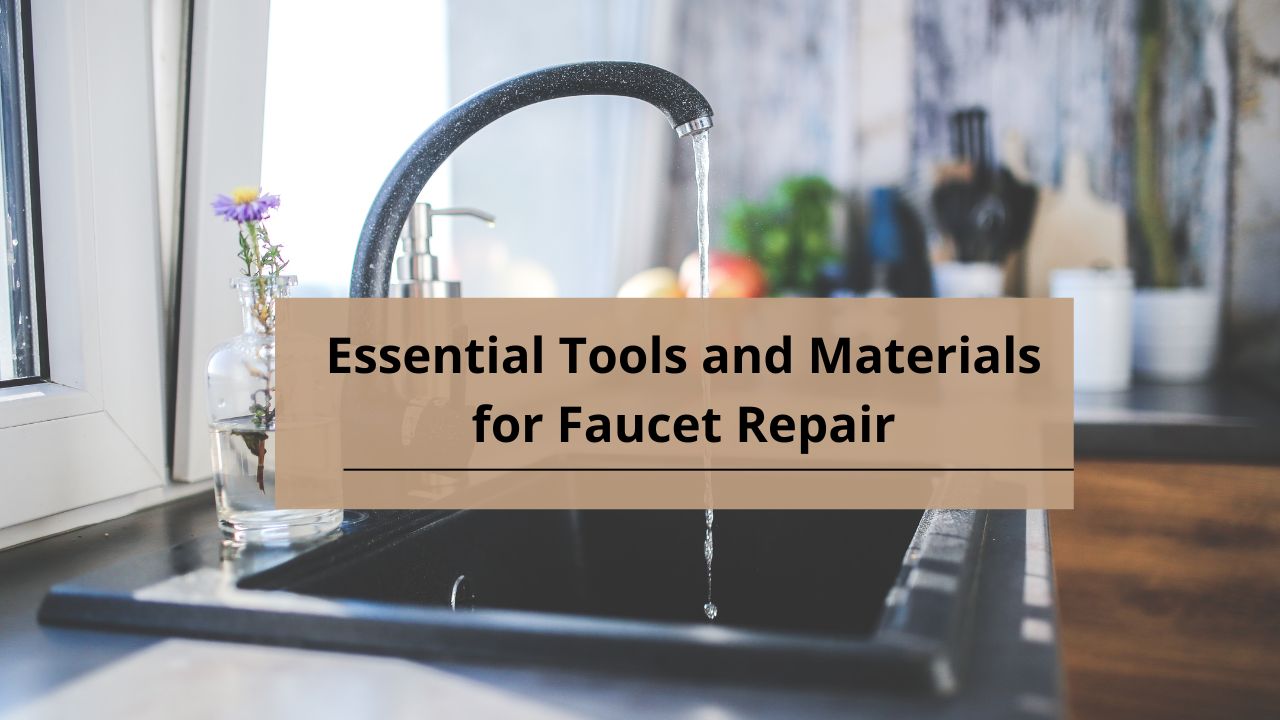
Faucet repairs are a common household task that can save you money and prevent further damage. Whether you’re dealing with a dripping faucet, low water pressure, or other issues, having the right tools and materials is essential for a successful repair. This guide outlines the essential tools and materials you’ll need to tackle faucet repairs effectively.
Basic Tools for Faucet Repair
Before diving into faucet repairs, make sure you have the basic tools ready.
Adjustable Wrench
- Purpose: Used for loosening and tightening nuts and bolts of various sizes.
- Tip: Choose one with a comfortable grip to make your work easier.
Screwdrivers (Flathead and Phillips)
- Purpose: Essential for removing and installing screws.
- Tip: Ensure you have both flathead and Phillips screwdrivers in various sizes.
Pliers
- Purpose: Helpful for gripping and turning small parts or pipes.
- Tip: Needle-nose pliers are useful for reaching tight spaces.
Allen Wrenches
- Purpose: Required for faucet handles that use Allen screws.
- Tip: Have a set of different sizes to accommodate various faucet models.
Pipe Wrench
- Purpose: Used for gripping and turning pipes and fittings.
- Tip: A pipe wrench is essential for handling large nuts and fittings.
Specialized Tools for Faucet Repair
Some repairs may require specialized tools for more complex issues.
Faucet Handle Puller
- Purpose: Extracts faucet handles without damaging them.
- Tip: Use this tool if the handle is stuck or difficult to remove.
Cartridge Puller
- Purpose: Removes faucet cartridges that are stuck or difficult to pull out.
- Tip: Ensure compatibility with the faucet model you’re working on.
Basin Wrench
- Purpose: Reaches and tightens nuts located under the sink.
- Tip: Ideal for hard-to-reach areas where other wrenches can’t fit.
Plumber’s Snake
- Purpose: Clears clogs in pipes leading to the faucet.
- Tip: Use this tool if you suspect that a clog is affecting the faucet’s performance.
Materials Needed for Faucet Repair
Having the right materials on hand can make your repair process smoother.
Replacement Parts
- Cartridges: Replace if your faucet has a cartridge system and is leaking.
- O-Rings: Use to seal connections and prevent leaks.
- Washers: Replace worn-out washers to stop drips and leaks.
Plumbing Tape
- Purpose: Provides a seal between threaded pipe joints.
- Tip: Wrap the tape around the threads before tightening to prevent leaks.
Sealants
- Purpose: Seal gaps and joints to prevent water damage.
- Tip: Use silicone sealant for a watertight seal around the faucet base.
Lubricants
- Purpose: Helps in smooth operation of moving parts.
- Tip: Apply a plumber’s grease or silicone-based lubricant to moving parts.
Safety Gear
Always prioritize safety when performing repairs.
Gloves
- Purpose: Protect your hands from sharp edges and hot water.
- Tip: Choose durable gloves that provide a good grip.
Safety Glasses
- Purpose: Protect your eyes from splashes and debris.
- Tip: Ensure a snug fit to prevent any particles from getting in.
Bucket
- Purpose: Catch water from the faucet or pipes.
- Tip: Place the bucket under the faucet area to minimize water damage during repairs.
Preparation Before Starting
Proper preparation can prevent complications during the repair process.
Turn Off Water Supply
- Action: Locate and turn off the main water supply or the shutoff valves under the sink.
- Tip: Test the faucet to ensure no water is running before beginning repairs.
Drain Water
- Action: Open the faucet to drain any remaining water.
- Tip: Use a towel to catch any residual water that may spill.
Clear Workspace
- Action: Remove items from the area around the sink and faucet.
- Tip: Keep your tools and materials organized and within reach.
Common Faucet Repair Issues
Understanding common issues can help you diagnose and fix problems effectively.
Leaking Faucets
- Cause: Often due to worn-out washers, cartridges, or O-rings.
- Solution: Replace faulty components and ensure all connections are tight.
Dripping Faucets
- Cause: Usually caused by a worn-out cartridge or faulty valve seat.
- Solution: Replace the cartridge or valve seat and check for proper sealing.
Low Water Pressure
- Cause: May be due to a clogged aerator or internal issues.
- Solution: Clean or replace the aerator and check for obstructions in the faucet or pipes.
Conclusion
Having the right tools and materials for faucet repair can make the process smoother and more efficient. By understanding the basic and specialized tools needed, as well as the materials required, you can tackle faucet repairs confidently. Whether you’re addressing leaks, drips, or low water pressure, being prepared ensures that you can handle any faucet issue that comes your way.
FAQs
1. What is the most important tool for faucet repair?
An adjustable wrench is crucial as it helps with loosening and tightening various nuts and fittings.
2. How do I know if I need to replace a faucet cartridge?
If your faucet is leaking or not functioning correctly despite tightening, the cartridge might need replacing.
3. Can I use regular tape for plumbing repairs?
No, you should use plumbing tape, which is designed specifically to seal threaded pipe joints.
4. How do I prevent faucet leaks after repair?
Ensure all components are properly installed and sealed. Use plumbing tape and sealants where necessary to prevent leaks.
5. Are there any tips for maintaining faucet performance?
Regularly clean the aerator, check for leaks, and ensure all components are in good condition to maintain optimal performance