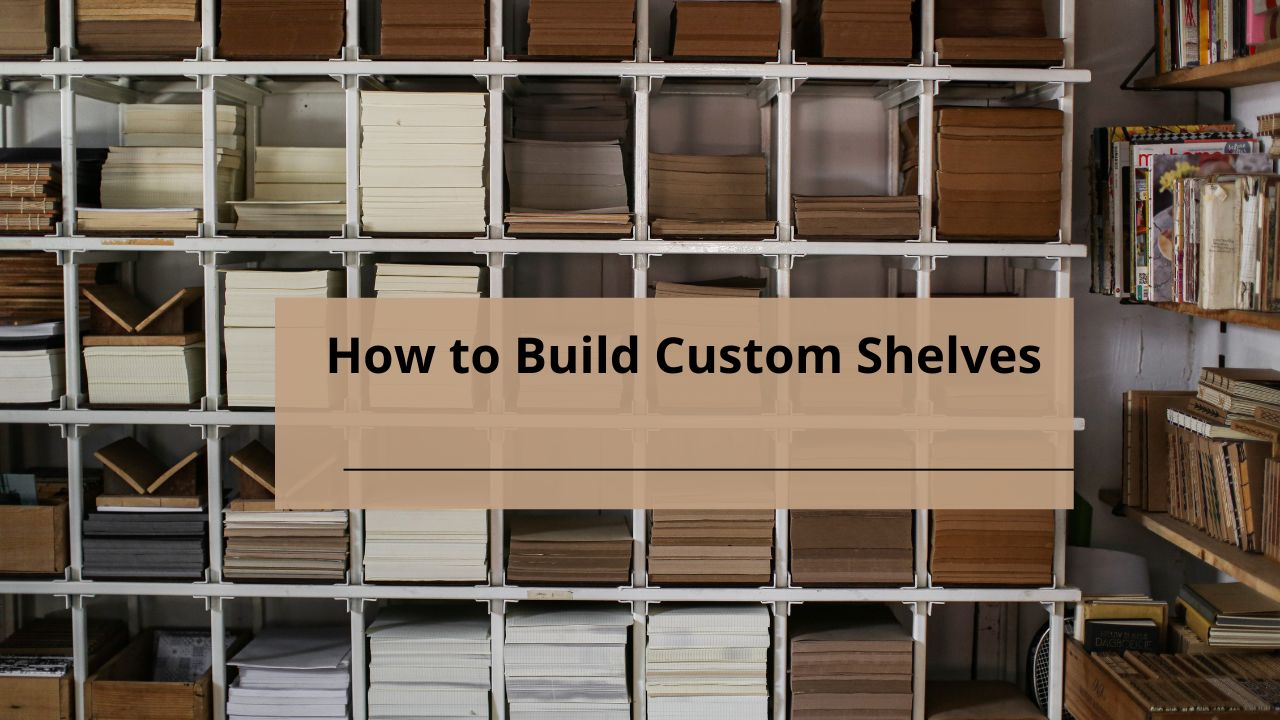
Building custom shelves is a rewarding DIY project that allows you to tailor your storage solutions to your exact needs. Whether you’re looking to organize a cluttered room or add a stylish touch to your space, custom shelves offer both functionality and aesthetic appeal. This guide will walk you through the entire process, from planning and gathering materials to installation and maintenance.
Planning Your Custom Shelves
Before you start building, it’s crucial to plan out your project thoroughly.
Determine the Purpose
- Functionality: Decide what you’ll be storing on the shelves. Are they for books, decorative items, or kitchen supplies?
- Style: Think about how the shelves will fit into your room’s decor.
Measure Your Space
- Accurate Measurements: Measure the wall or area where the shelves will be installed. Note the height, width, and depth.
- Consider Spacing: Determine the spacing between shelves based on what you’ll be storing.
Choose the Right Materials
- Wood Types: Common choices include plywood, MDF, and solid wood. Consider the weight and durability required.
- Finishes: Decide if you want to paint, stain, or leave the wood natural.
Design Your Shelves
- Shelf Dimensions: Based on your measurements, sketch out the dimensions of each shelf.
- Style and Design: Choose between floating shelves, bracket-supported shelves, or built-in designs.
Gathering Tools and Materials
Having the right tools and materials is essential for a successful project.
Essential Tools
- Saw: For cutting wood, a circular saw or jigsaw is ideal.
- Drill: For making holes and securing brackets.
- Level: To ensure shelves are perfectly horizontal.
- Screwdriver: For assembling and installing.
Materials Needed
- Wood: Sheets of plywood, MDF, or solid wood.
- Brackets or Supports: Depending on your design.
- Screws and Anchors: For securing brackets to the wall.
- Paint or Stain: For finishing touches.
Safety Gear
- Gloves: To protect your hands.
- Safety Glasses: To shield your eyes from debris.
- Dust Mask: To avoid inhaling sawdust.
Preparing Your Workspace
A well-organized workspace makes the building process smoother and safer.
Organizing Your Tools
- Tool Station: Set up a dedicated area for your tools and materials.
- Work Surface: Use a workbench or sturdy table for cutting and assembly.
Setting Up Your Work Area
- Clear Space: Ensure you have ample space around your work area.
- Lighting: Good lighting helps with precision and safety.
Cutting the Wood
Accurate cutting is crucial for a professional-looking result.
Measuring and Marking
- Measure Twice: Double-check measurements before cutting.
- Mark Clearly: Use a pencil and a square to mark cut lines.
Using the Right Saw
- Circular Saw: Ideal for straight cuts in large sheets of wood.
- Jigsaw: Useful for curved or intricate cuts.
Cutting Techniques
- Straight Cuts: Use a guide or a straightedge to ensure accuracy.
- Safety: Always follow safety guidelines when using saws.
Assembling the Shelves
Assembly involves putting together the shelf pieces and ensuring a sturdy structure.
Preparing the Pieces
- Pre-drill Holes: To prevent wood from splitting.
- Align Pieces: Ensure all parts fit together correctly before assembly.
Assembling the Frame
- Join Wood: Use wood screws or dowels to join the frame components.
- Check for Squareness: Use a square to ensure the frame is square.
Attaching the Shelves
- Secure Shelves: Attach the shelves to the frame using screws or brackets.
- Recheck Level: Make sure the shelves are level before finalizing.
Finishing Touches
The final touches give your shelves a polished look.
Sanding the Wood
- Smooth Finish: Sand the wood to remove rough spots and splinters.
- Progressive Grits: Start with coarse sandpaper and finish with fine grit.
Painting or Staining
- Preparation: Apply a primer if necessary.
- Application: Use a brush or roller for even coverage.
Applying a Protective Finish
- Sealant: Apply a clear coat or sealant to protect the wood and enhance durability.
Installing Your Custom Shelves
Proper installation ensures your shelves are securely mounted.
Choosing the Installation Method
- Bracket Installation: For floating or wall-mounted shelves.
- Built-In Installation: For custom-built shelves within a wall cavity.
Mounting the Shelves
- Mark Bracket Positions: Use a level to ensure correct placement.
- Secure Brackets: Attach brackets to the wall using screws and anchors.
Securing the Shelves to the Wall
- Final Adjustments: Ensure shelves are level and securely fastened.
- Test Stability: Check that shelves are stable and can hold the intended load.
Maintenance and Care
Regular maintenance keeps your custom shelves looking and functioning well.
Regular Cleaning
- Dusting: Regularly dust the shelves to keep them clean.
- Spot Cleaning: Address spills or stains promptly.
Checking for Stability
- Periodic Checks: Ensure that brackets and screws remain tight.
- Re-tighten as Needed: Address any loose components.
Touch-Up Repairs
- Repair Scratches: Use touch-up paint or stain to fix any damage.
- Refinish if Needed: Sand and reapply finish if shelves show signs of wear.
Conclusion
Building custom shelves is a satisfying project that enhances both the functionality and style of your space. By following this step-by-step guide, you can create shelves that perfectly fit your needs and aesthetic preferences. Don’t be afraid to experiment with different designs and finishes to make your shelves truly unique.
FAQs
1. What materials are best for building custom shelves?
Popular choices include plywood, MDF, and solid wood. Consider the weight capacity and appearance when selecting materials.
2. How do I ensure my custom shelves are strong enough?
Use appropriate brackets and supports, and select materials that can handle the intended load. Follow proper installation techniques to ensure stability.
3. What tools do I need to build custom shelves?
Essential tools include a saw (circular or jigsaw), drill, level, screwdriver, and measuring tape. Additional tools may be required based on your design.
4. How do I choose the right finish for my shelves?
Select a finish that complements your room decor and suits your needs. Options include paint, stain, or a clear sealant for a natural look.
5. Can I install custom shelves without professional help?
Yes, with the right tools and following proper instructions, you can build and install custom shelves yourself. Ensure you follow safety guidelines and take your time to achieve the best results


