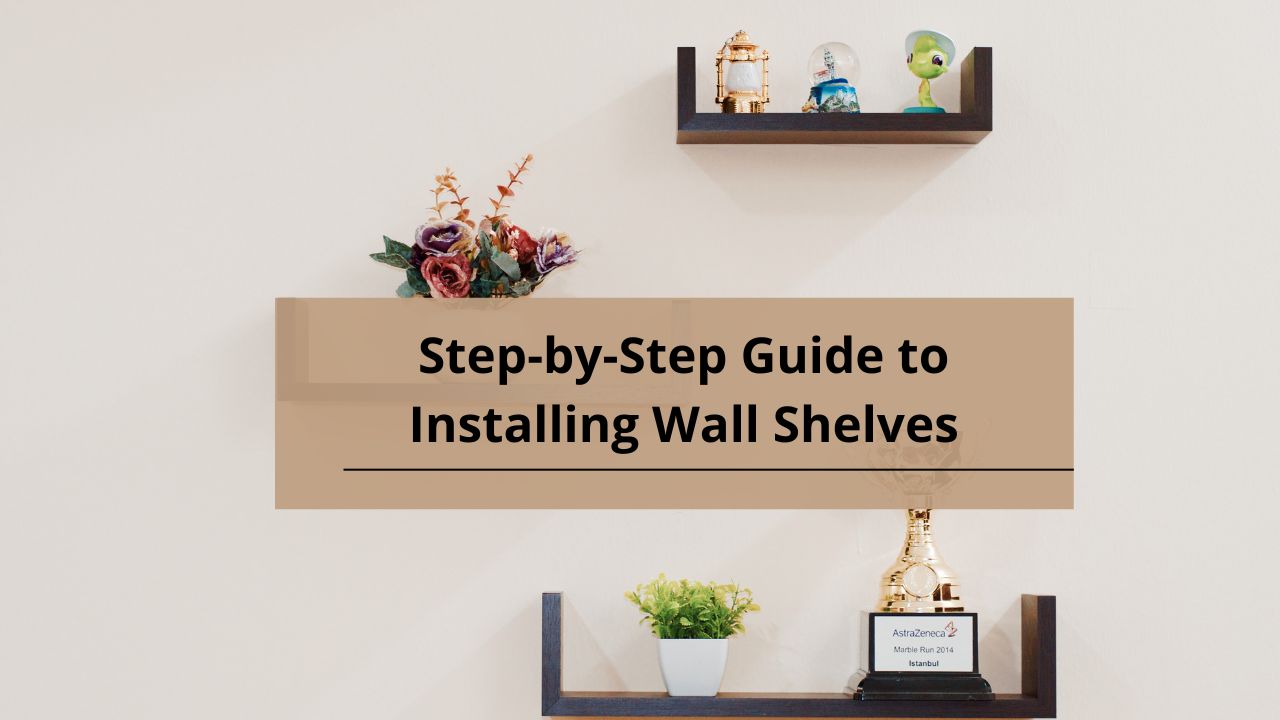
Wall shelves are a versatile and stylish addition to any space, offering both functional storage and decorative display options. Installing them might seem daunting, but with the right tools and a clear process, it’s a straightforward project. This guide will walk you through each step to ensure a smooth and successful installation of your wall shelves.
Tools and Materials Needed
Basic Tools
To get started, you’ll need a few essential tools.
- Measuring Tape: For precise measurements to ensure accurate placement of shelves.
- Level: To ensure that your shelves are installed perfectly horizontal.
- Drill: For making holes in the wall to secure the brackets.
- Screwdriver: For tightening screws and securing brackets.
- Hammer: For driving in nails if needed.
Specialized Tools
These tools help with more specific aspects of the installation.
- Stud Finder: Helps locate the wooden studs behind the wall, which are essential for mounting heavier shelves securely.
- Wall Anchors: Provide extra support for screws in drywall or plaster.
- Brackets and Supports: Essential for holding the shelves in place.
Materials
Gather all materials before beginning the installation.
- Shelves: Choose shelves that fit your space and style.
- Mounting Hardware: Includes screws, anchors, and brackets.
- Tools for Wall Preparation: Such as sandpaper and putty for preparing the wall surface.
Preparation Before Installation
Planning the Shelf Layout
Careful planning ensures your shelves will fit perfectly and look great.
- Measuring and Marking: Measure the area where you want to install the shelves and mark the wall where the brackets will be placed. Use a level to ensure your marks are straight.
Checking Wall Type
Different wall types require different installation methods.
- Drywall, Concrete, or Brick: Determine the type of wall you have to select the appropriate anchors and hardware. Drywall requires wall anchors, while concrete and brick walls need special drill bits and anchors.
Gathering Tools and Materials
Ensure you have everything you need before starting.
- Tools and Materials: Collect all the tools and materials listed above. Having everything on hand will make the installation process smoother and more efficient.
Step-by-Step Installation Process
Step 1: Measure and Mark
Start by determining where the shelves will go.
- Determining Placement: Use the measuring tape to find the right height and position for your shelves. Mark the spots where the brackets will be attached.
Step 2: Locate Studs and Install Anchors
Securely attach the brackets by locating studs or using wall anchors.
- Using a Stud Finder and Wall Anchors: Use the stud finder to locate the wooden studs behind the wall. Mark their positions. If installing in drywall, insert wall anchors at the marked spots.
Step 3: Install Brackets
Attach the brackets to the wall, ensuring they are level.
- Securing Brackets to the Wall: Drill holes into the marked spots, insert wall anchors if necessary, and screw the brackets into place. Use a level to make sure the brackets are straight.
Step 4: Attach Shelves
Place the shelves onto the installed brackets.
- Placing and Securing the Shelves: Once the brackets are securely attached, place the shelves on top and adjust as needed. Ensure the shelves are level and make any necessary adjustments.
Tips for a Successful Installation
Ensuring Level Shelves
Check that your shelves are installed level.
- Checking Alignment: Use a level to ensure that the shelves are perfectly horizontal. This step is crucial for a polished and professional look.
Securing Heavy Items
Make sure your shelves can handle the weight of the items you plan to place on them.
- Weight Distribution and Stability: Distribute weight evenly and avoid overloading the shelves. If you need to store heavy items, ensure that the brackets and anchors used are rated for the weight.
Avoiding Common Mistakes
Prevent issues that can affect the stability and appearance of your shelves.
- Misalignment and Incorrect Hardware: Double-check measurements and alignment before drilling. Use the correct hardware for your wall type and shelf weight.
Post-Installation Check
Verifying Stability
Ensure that the shelves are securely attached and stable.
- Ensuring Secure Attachment: Test the shelves by gently placing items on them and checking for any movement. If the shelves feel unstable, make adjustments to the brackets or anchors.
Final Adjustments
Make any necessary tweaks to perfect the installation.
- Making Necessary Corrections: Adjust the shelves if needed and ensure all brackets and anchors are securely fastened.
Conclusion
Installing wall shelves can transform your space by adding both functionality and style. By following this step-by-step guide, you’ll ensure a smooth installation process and achieve a professional finish. With the right tools, careful planning, and attention to detail, your new shelves will provide lasting utility and aesthetic appeal.
FAQs
1. How do I measure and mark for wall shelves?
Use a measuring tape to determine the height and placement of your shelves. Mark the wall with a pencil where the brackets will be installed, and use a level to ensure accuracy.
2. What if my wall does not have studs?
If there are no studs in your desired location, use wall anchors to secure the brackets. Make sure the anchors are appropriate for your wall type and weight requirements.
3. Can I install wall shelves in a concrete wall?
Yes, but you will need a hammer drill and masonry bits to create holes in concrete. Use appropriate anchors and screws designed for concrete walls.
4. How do I ensure my shelves can hold heavy items?
Choose brackets and anchors rated for the weight of the items you plan to store. Distribute weight evenly and avoid overloading the shelves.
5. What should I do if my shelves are not level?
Use a level to check alignment. Adjust the brackets or anchors as needed to ensure the shelves are straight and securely installed


